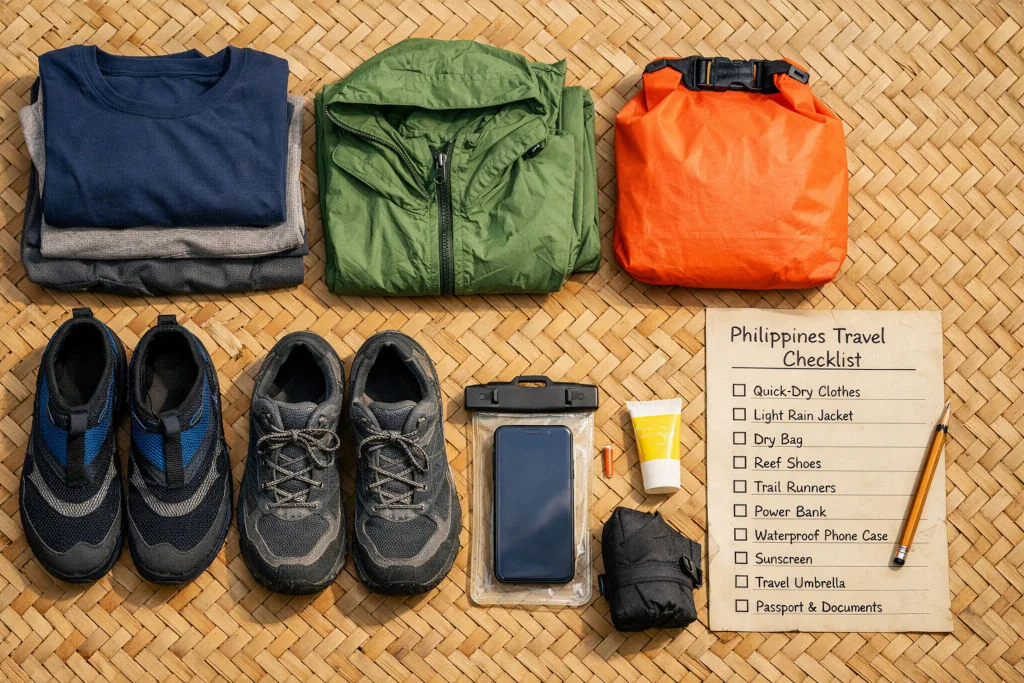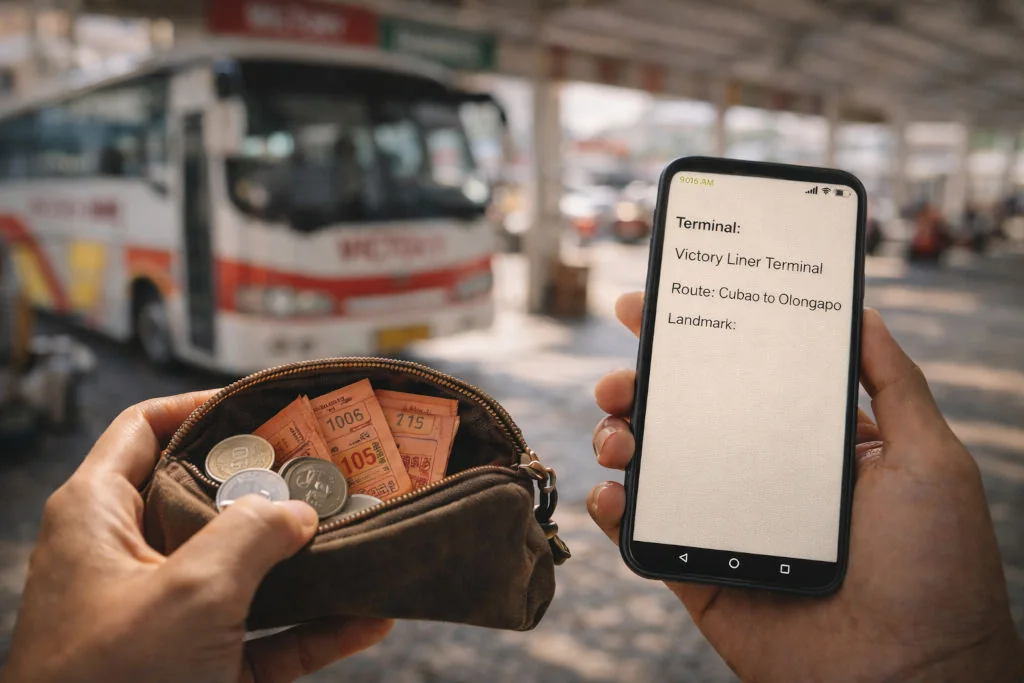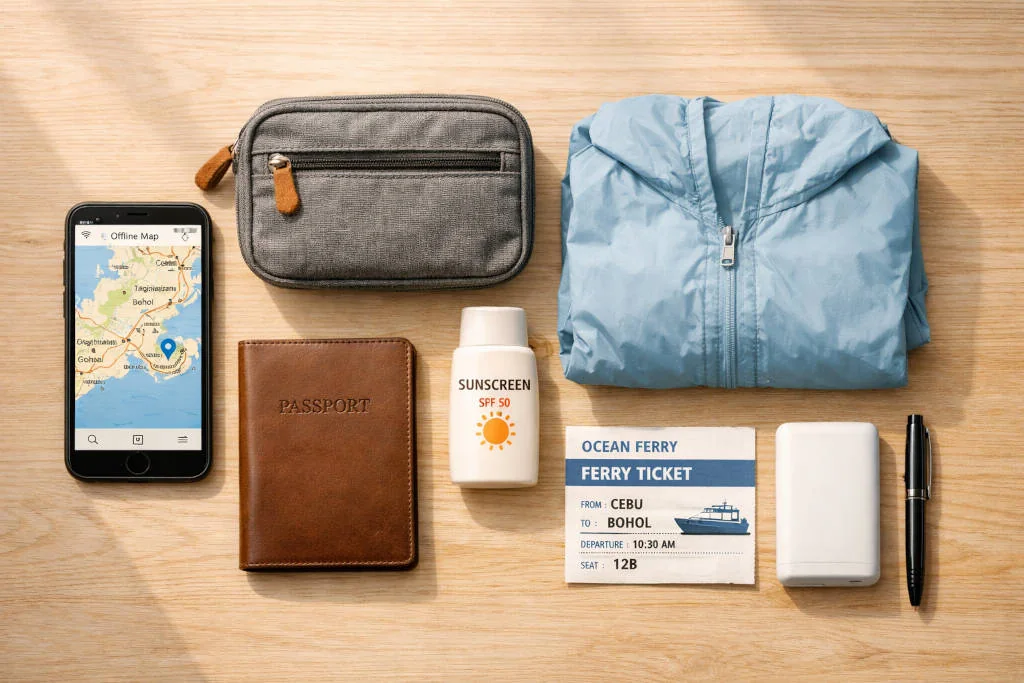
A first Philippines trip becomes easier when you decide the order: entry documents, arrival gateway, a sensible destination count, your first hotel base and only then tours. This page points you to the right detailed guide for each decision instead of repeating an entire planning handbook.
Four decisions to make in order
| Decision | Start here | Avoid this mistake |
|---|---|---|
| 1. Entry eligibility | Entry requirements and eVisa versus eTravel. | Assuming that an eTravel declaration is a visa or visa waiver. |
| 2. Arrival gateway | Manila arrival or airport transfer planning. | Booking a separate onward connection without time or a backup. |
| 3. Trip length and destinations | 7-, 10- and 14-day itineraries. | Counting transit days as full sightseeing days. |
| 4. Total budget | Trip-budget examples and budget topic hub. | Comparing only ticket prices without bags, transfers and rest days. |
Choose fewer bases rather than more transfers
For a first trip, pick one primary region before adding a second. Explore the Luzon, Visayas and Palawan destination collections; then check the route between your chosen bases. A five-hour journey and a ferry connection are not interchangeable with a short direct flight.
Prepare the arrival day separately
- Use the official immigration, airline and eTravel systems for your own nationality and itinerary; policies can change.
- Confirm your actual airport and terminal, arrival date, luggage and hotel check-in rules.
- Save your first accommodation address, pickup plan and a second payment method.
- Keep the first day flexible if arriving overnight or changing airports.
For deeper step-by-step help, the existing Philippines Travel Planning Guide remains the main comprehensive how-to. This hub is the navigation layer for choosing where to begin.